 Skip to content
Vape Coils Explained: Types, Resistance, Wattage, and lifespan causes and fixes
- by puff paradise
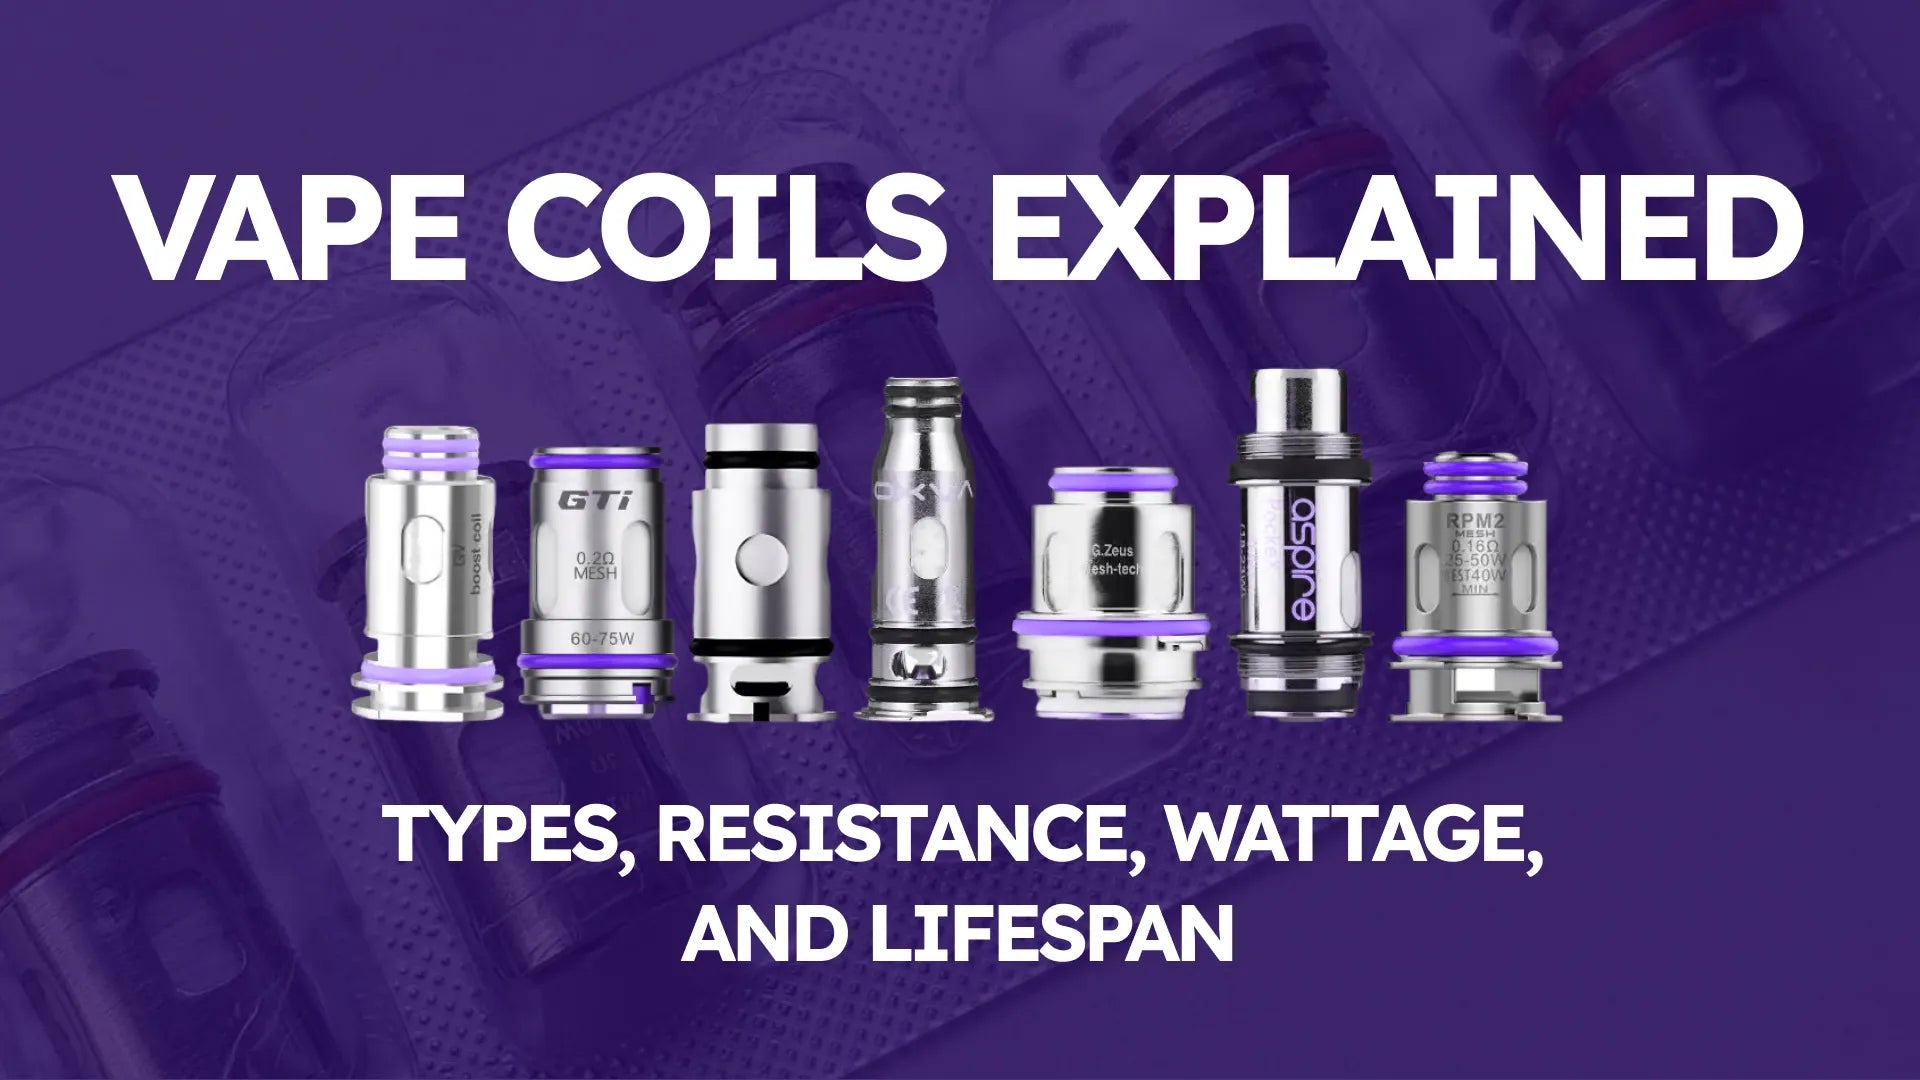
A vape coil is the heating element in a vape device that turns e-liquid into vapour. It consists of a metal housing, wicking material, and a coil wire, with different coil types affecting flavour, vapour production, and performance. Mesh coils offer fast heating and smooth draws, while materials like Kanthal, stainless steel, and ceramic provide varying resistance and durability.
What Is a Vape Coil?
A vape coil is the heating element inside a vape device. This component converts e-liquid into vapour by heating up when an electrical current flows through it. A standard vape coil consists of the following three essential parts listed below.

-
Coil housing – A metal casing that holds the internal components. This part has holes called "ports" that allow e-liquid to reach the wick.
-
Wicking material – A highly absorbent material, usually cotton, that soaks up the e-liquid. This ensures a steady supply of liquid for vaporisation.
-
Coil wire – A metallic wire, often wound into a spiral or made from mesh, that heats up when power is applied. This process turns the soaked e-liquid into an inhalable vapour.
Vape coils are sometimes referred to as atomiser heads. The performance of a vape largely depends on the type of coil used.
What Are Different Types of Vape Coils?
Vape coils come in various designs and materials. The coil type affects flavour, vapour production, and overall performance. Refer to the following list to learn about different types of coils based on the materials from which they are made.

-
Mesh Coils – These coils use a fine metal mesh instead of a traditional wire. A larger surface area ensures faster heating, even vaporisation, and improved flavour. Mesh coils operate efficiently at higher temperatures and offer a smoother draw.
-
Spiral Wire Coils – These coils use a simple spiral-wound metal wire. Heat distribution can be uneven, leading to a shorter lifespan when used at high wattages. These are commonly found in Mouth-to-Lung (MTL) devices and work best at lower temperatures.
-
Ceramic Coils – These coils incorporate a porous ceramic material that improves airflow and enhances flavour. A high heat tolerance helps prevent dry hits and extends the coil’s lifespan.
-
Stainless Steel Coils – These coils are made from durable stainless steel alloys. Compatibility with both wattage and temperature control (TC) modes makes them highly versatile.
-
Titanium Coils – These coils are soft and easy to shape. A crisp, clean flavour is one of their main advantages. However, titanium coils must be used with temperature control to prevent overheating, as they are more flammable than other coil types.
-
Kanthal Coils – These coils consist of iron, chromium, and aluminium. A fast ramp-up time and reliable vapour production make Kanthal a popular choice. These coils can only be used in wattage mode.
-
Nickel Coils (Ni200) – These coils contain 99.6% nickel and are designed for temperature control vaping. A very low resistance allows them to operate at lower voltages. Nickel coils should never be used in wattage mode, and some vapers may have allergic reactions to nickel.
-
Nichrome Coils – These coils consist of 80% chromium and 20% nickel. A quick ramp-up time and high heat tolerance make them ideal for sub-ohm vaping. Nichrome coils resist oxidation and are only compatible with wattage mode.
Each coil type delivers a unique vaping experience. Choosing the right coil depends on individual preferences, vaping style, and device compatibility.
What Is Coil Resistance in Vaping?
In vaping, coil resistance refers to the amount of opposition a coil presents to the flow of electrical current. It is measured in ohms (Ω). There are two types of coil resistances, as mentioned below.
-
High-resistance coils – These coils have a resistance above 1.0 ohms. These coils allow less electrical current to flow through them, resulting in a cooler vape, less vapour production, and potentially a smoother throat hit. They are often preferred by MTL vapers who enjoy a more discreet and battery-efficient vaping experience, especially those transitioning from smoking.
-
Low-resistance coils (sub-ohm) – These coils have a resistance below 1.0 ohms. These coils typically require higher power to operate, resulting in more vapour and potentially a warmer, more intense flavour. They are often preferred by experienced vapers who enjoy direct-to-lung (DTL) vaping and prefer a more robust vapour production.
The resistance of a coil determines the power and experience of a vape session. The coil material, wire thickness, and number of wraps affect its resistance.
What Is the Relationship Between Coil Resistance and Wattage?
Coil resistance and wattage are directly connected through electrical principles. Lower resistance coils allow more current to pass when voltage is fixed, which increases wattage and heat output. In contrast, higher resistance coils restrict current flow, resulting in lower wattage and gentler heat. This relationship is explained by the below mentioned formulas
P = I²R and P = V²/R.
[P is power (in watts), I is current (in amperes), V is voltage (in volts), and R is resistance (in ohms)]
When voltage remains constant, lower resistance increases current and total wattage. In vaping devices, low-resistance coils are used for higher power and dense vapor, though they may wear out faster. High-resistance coils support lower wattage, giving smoother hits and longer coil life.
How Long Does a Vape Coil Last?
A standard vape coil typically lasts 1 to 2 weeks with regular use. Coil longevity depends on factors such as the type of e-liquid, vaping frequency, and device quality. Sweeter or high-VG e-liquids tend to leave more residue, which can cause faster coil buildup. Similarly, frequent or high-wattage vaping increases heat stress on the coil, reducing its lifespan. Maintaining proper care, like cleaning the coil, avoiding dry hits, and staying within recommended wattage, can help extend coil life.
Understanding coil lifespan also helps explain how a vape functions over time. The coil is responsible for heating the e-liquid and producing vapor. As it degrades due to residue or wear, vapor quality diminishes and flavor may suffer. Eventually, the coil’s ability to heat evenly declines, which signals the need for replacement to keep the vape performing reliably.
How to Extend the Lifespan of Your Coil?
Vape coil longevity increases with proper care and usage habits.
-
Prime the coil – A pre-saturation process prevents dry hits.
-
Avoid chain vaping – A short pause between puffs allows wick saturation.
-
Use the correct wattage – A manufacturer-recommended range prevents overheating.
-
Keep the tank filled – A consistent e-liquid level reduces dry burns.
-
Choose low-sweetener e-liquids – A reduced sugar content prevents coil gunk.
-
Use temperature control mode – A regulated heat setting prolongs coil life.
A few preventive measures improve coil efficiency and reduce frequent replacements.

How Do You Know When to Change a Vape Coil?
You should change a vape coil when performance declines noticeably. Over time, residue buildup, heat damage, and wear reduce the coil’s efficiency. The most common signs include flavour loss, where the e-liquid tastes muted or dull due to wick clogging. A burnt taste indicates that the wick is scorched and no longer absorbing liquid properly. You may also notice reduced vapour output, as carbon deposits block airflow and limit vaporisation. Other signs include gurgling sounds caused by flooding, e-liquid leaks from a failing seal, and inconsistent resistance readings. Replacing the coil restores flavour, vapour production, and overall vaping quality.

-
Flavour Loss
A weak or muted taste indicates coil deterioration. A fresh coil delivers a strong and distinct flavour profile, allowing users to fully enjoy their chosen e-liquid. Over time, residue from previous vaping sessions accumulates on the coil and wick. The buildup of burnt e-liquid and sweeteners clogs the wick, preventing it from absorbing fresh liquid effectively. As a result, the vapour tastes dull or completely flavourless.
-
Burnt Taste
A harsh and unpleasant sensation signals wick damage. A properly functioning coil provides a smooth and enjoyable inhale, free from any burnt or acrid taste. A burnt flavour occurs when the wick becomes scorched due to excessive heat exposure or insufficient saturation. If the coil is not replaced in time, every inhale becomes unbearable, making it difficult to continue vaping.
-
Reduced Vapour Output
A lower vapour density suggests coil inefficiency. A fresh coil produces thick and dense clouds, especially in sub-ohm setups designed for high vapour production. Over time, carbon deposits form on the coil surface, restricting airflow and reducing vapour output. A clogged or damaged wick also limits e-liquid absorption, further affecting cloud production. If vapour output becomes significantly weaker despite using the correct settings, replacing the coil restores performance.
-
Gurgling Sounds
A flooded coil creates bubbling noises. A properly functioning coil vaporises e-liquid smoothly without unusual noises. If excess e-liquid saturates the wick or leaks into the airflow chamber, a gurgling or bubbling sound occurs when inhaling. This issue often results from an old coil struggling to wick e-liquid efficiently. A fresh coil prevents oversaturation and eliminates unwanted noises.
-
E-liquid Leaks
A worn-out coil may cause tank leakage. A vape tank relies on a properly working coil to maintain a sealed and balanced airflow system. When a coil degrades, it struggles to retain e-liquid within the wick, allowing excess liquid to escape through the airflow vents. Frequent leaks indicate that the coil no longer functions properly and needs to be replaced.
A vape coil replacement restores the quality of a vaping session. Keeping an eye on these signs ensures a smooth and enjoyable vaping experience without unnecessary disruptions.
What Are the Signs of a Burnt Coil?
A burnt coil produces a harsh, unpleasant vaping experience. The most noticeable symptom is a strong burnt flavour that overpowers the e-liquid. This occurs when the wick inside the coil becomes charred from overheating or insufficient saturation. A discoloured or blackened wick also indicates a burnt coil, especially when it can no longer absorb e-liquid effectively. Users may experience a harsh throat hit, causing irritation or coughing. Vapour output often decreases significantly, even with correct settings. These signs confirm that the coil is no longer functional and should be replaced immediately.

-
A Strong Burnt Flavour
A burnt coil gives off a harsh, acrid taste with every inhale. The burnt taste overpowers the e-liquid’s flavour, making vaping uncomfortable. This occurs when the wick inside the coil gets charred from overheating or insufficient e-liquid saturation. A burnt wick cannot absorb fresh liquid properly, leading to dry hits and an unpleasant taste.
-
A Discoloured or Blackened Wick
A clear white wick indicates a fresh coil. Over time, exposure to high temperatures and thick e-liquids darkens the wick. A burnt coil shows visible signs of damage, with a blackened or dark brown wick that no longer absorbs e-liquid effectively. If the wick appears severely discoloured, replacing the coil improves vapour quality and flavour.
-
A Harsh Throat Hit
A burnt coil increases throat irritation. A properly functioning coil provides a smooth inhale, allowing users to enjoy their vape without discomfort. A burnt wick produces a harsh throat hit, causing coughing and irritation. The unpleasant sensation intensifies with each puff, making continued vaping difficult.
-
A Significant Vapour Reduction
A burnt coil struggles to produce vapour efficiently. Residue buildup and heat damage reduce the coil’s ability to vaporise e-liquid effectively. Vapour output drops noticeably, even when using a high-powered device. Replacing the coil restores vapour production and enhances the overall vaping experience.
A burnt coil negatively impacts vapour flavour and inhalation comfort. Regular coil replacement prevents these issues and ensures consistent performance.
How to Stop a Vape from Burning Coils?
A few simple steps prevent coil burning. Proper coil care enhances longevity and maintains optimal performance.
Prime the Coil Before Use
A new coil must be primed before first use. Applying e-liquid directly to the wick ensures proper saturation and prevents dry hits. Skipping this step leads to immediate wick burning, shortening the coil’s lifespan. Allowing the coil to sit in a filled tank for at least 5-10 minutes further enhances saturation.
Avoid Chain Vaping
A short pause between puffs allows the wick to reabsorb e-liquid. Chain vaping, or taking multiple hits in quick succession, prevents proper wicking and leads to dry hits. A simple habit change preserves coil integrity and improves vaping sessions.
Keep the Wattage Within Recommended Levels
Each coil has a manufacturer-recommended wattage range. Exceeding this range causes the coil to overheat, burning the wick prematurely. Adjusting the wattage according to coil specifications prevents damage and extends lifespan.
Use Temperature Control Mode
A temperature control (TC) setting regulates coil heat output. TC mode prevents overheating by adjusting power levels based on coil temperature. Using compatible coils with TC settings provides additional protection against burning.
Take Slower and Longer Draws
A steady inhalation technique ensures even e-liquid vaporisation. Short, forceful puffs cause excessive heat buildup, damaging the wick. Slower draws allow heat to distribute evenly, preventing burnt spots.
A careful vaping approach prevents burnt coils and extends coil lifespan. Simple adjustments in vaping habits improve coil durability and overall satisfaction.
How to Fix a Burnt Coil?
A coil that is slightly burnt may be temporarily restored, but complete damage requires replacement. To attempt recovery:

-
Soak the coil in warm water for several hours to loosen residue and carbon buildup.
-
Dry it completely. Let it air dry for at least 24 hours to prevent short circuits.
-
Test the coil at a lower wattage to reduce heat stress and see if performance improves.
If the burnt taste persists or the coil fails to produce adequate vapour, it must be replaced. Temporary fixes offer short-term relief, but replacement ensures consistent performance.
How to Change a Vape Coil?
Changing a vape coil is a straightforward process that restores optimal flavour and vapour. First, detach the tank from the vape device while holding it upright to avoid spills. Either empty the tank or invert it to minimise leakage during coil replacement. Unscrew the old coil from the tank base by gently twisting it. If it’s stuck, apply light pressure without damaging the tank. Before inserting the new coil, apply a few drops of e-liquid directly onto the cotton wick. This is called priming and prevents dry hits. Insert the primed coil securely into the base to ensure a tight seal. Reassemble the tank and fill it with e-liquid. Let the coil soak for 5–10 minutes before use. Taking a few puffs without activating the fire button improves saturation. A properly installed coil ensures smooth draws, full flavour, and consistent vapour.
How to Clean a Vape Coil?
Cleaning a vape coil involves carefully removing buildup to restore flavour and extend performance, but it’s only a temporary fix and not a replacement for a new coil. To clean a replaceable coil, first remove it from the tank and rinse it under warm water to flush out loose debris. Then soak it in warm water for about 20 to 30 minutes to loosen stubborn residue. For deeper cleaning, you can use ethanol, vinegar, or cheap vodka, followed by a rinse with distilled water to avoid mineral deposits. Let the coil air dry completely before reuse to prevent short circuits. Advanced users may use ultrasonic cleaners for thorough cleaning. Built-in coils, on the other hand, can’t be removed or cleaned directly. Maintaining the pod by wiping external parts is the only option until a replacement is needed.
Understanding how to clean and maintain your vape is essential to ensuring consistent performance and flavour. A dirty coil can cause burnt aftertastes, muted flavour, or weak vapor production. Regular cleaning may temporarily revive performance if the coil isn't too degraded. Still, once the wick is burnt or the coil is too clogged, cleaning won’t help, replacement is the only solution. Monitoring your vape’s flavour quality, vapor output, and coil condition will help you decide whether a clean or a swap is needed. Proper maintenance, including coil care, plays a key role in how long your vape lasts and how well it performs.
What Is Vape Coil Priming?
Priming a vape coil is the process of pre-saturating the coil’s cotton wick with e-liquid before using it. This step ensures the wick absorbs enough liquid, preventing dry hits and a burnt taste.

When a coil is dry and heated, the cotton inside burns instantly, ruining the coil. Once burned, the wick cannot absorb e-liquid properly, resulting in poor flavour, reduced vapour production, and an overall bad vaping experience. Properly priming the coil ensures smooth and consistent performance while extending its lifespan.
Why Is Priming a Vape Coil Necessary?
Priming a coil prevents dry hits, improves flavour, and extends coil life. A dry wick burns instantly when heated, leading to a burnt taste and permanent damage. Saturating the wick before use helps it last longer and improves vapour quality. It also reduces the break-in period, allowing for better performance from the first puff. Priming is essential for coil longevity and vaping satisfaction.
How to Properly Prime a Vape Coil
Start by gathering a new coil, your chosen e-liquid, and your vape tank or pod. Apply a few drops of e-liquid directly to the exposed cotton on the coil, use 3–5 drops for smaller coils and 5–10 for larger sub-ohm types. Once the cotton is visibly saturated, install the coil into the tank or pod securely. Fill the tank with e-liquid without overfilling. Let the coil sit for at least 5–10 minutes to ensure full absorption. For thicker e-liquids, wait 10–15 minutes. Take a few primer puffs without activating the device to pull more liquid into the wick. If your device has variable wattage, start at a lower setting and gradually increase to the recommended level. This avoids overheating the wick during initial use.
Additional Tips for Extending Coil Life
Using the correct e-liquid type improves coil compatibility, high-VG for sub-ohm and high-PG for MTL coils. Avoid chain vaping, as it overheats the coil and shortens its lifespan. Refill your tank before it’s empty to prevent dry burning. Adjust airflow to avoid drying out the wick or flooding the chamber. Always replace the coil when you detect a burnt taste, reduced vapour, or weak flavour. Following these steps ensures your coil performs better for longer.
